Admin Features
Organization administrators have access to a comprehensive set of management tools for controlling users, settings, integrations, and usage across the entire organization.
Admin Panel Access
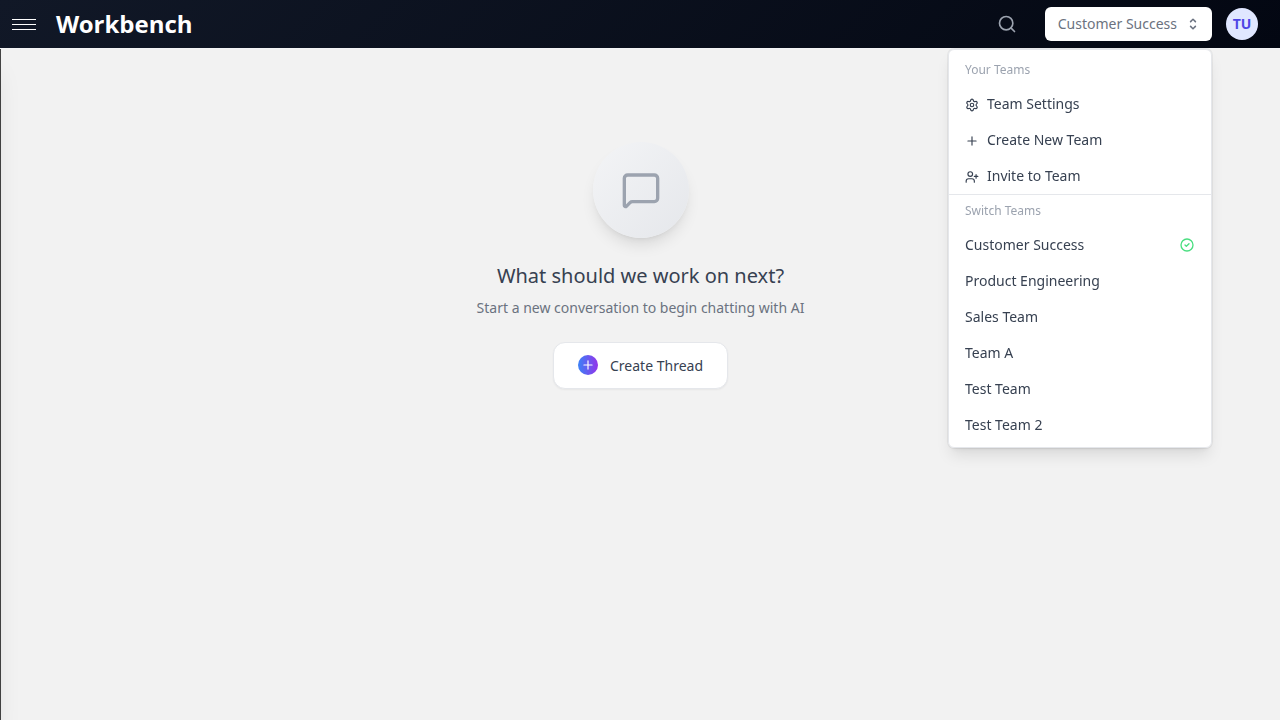
Opening the Admin Panel
- Click your profile avatar in the top-right corner
- Select Organization from the dropdown menu
- The Organization panel opens with tabbed navigation
The Organization panel is available to three role levels, each with different permissions:
| Role | View Settings | Edit Settings | Manage Members | Manage Admins |
|---|---|---|---|---|
| Owner | Yes | Yes | Yes | Yes |
| Admin | Yes | Yes | Yes | Granted by Owner |
| Member | Yes (read-only) | No | No | No |
Non-admin members see a notice explaining their read-only access. Admins see a confirmation of their admin privileges and available actions.
Organization Overview
The Overview tab provides a real-time snapshot of organization activity:
- KPI Summary Cards: Active users, total threads, token consumption, and cost summary at a glance
- Adoption Metrics: User engagement rates and feature adoption across the organization
- Model Consumption Chart: Visual breakdown of which AI models are used most frequently
- Credit Trends: Cost trajectory over time with trend analysis
- Connector Usage: Integration activity across HubSpot, Microsoft 365, Google Workspace, and other services
- Top Spenders: Users consuming the most tokens or credits, ranked by usage
- Activity Insights: Patterns in usage by time of day, day of week, and feature category
Date Range Filtering: Use the date range selector to analyze any time period. Preset options include 7 days, 30 days, 60 days, 90 days, all time, or a custom date range.
CSV Export: Click the export button to download the current statistics as a CSV file, filtered by the active date range.
User Management
Viewing Users

The Members tab displays all organization members with the following information:
- Name and email with profile avatar
- Role badge: Owner, Admin, or Member
- Account status: Active or Disabled (with disabled date)
- Last activity timestamp: When the user last interacted with the platform
- Join date: When the user was added to the organization
Inviting Users
- Navigate to the Members tab
- Click the Invite Member button
- Enter the email address of the person to invite
- Select the role: Member or Admin
- Click Send Invitation
Pending invitations appear in a dedicated section below the member list. Each invitation shows:
- Invited email address
- Assigned role
- Who sent the invitation
- Expiration date
- Option to cancel the invitation
Invited users receive an email with a registration link. If the organization uses domain allowlisting, the invited email must match an allowed domain.
Managing Users
Admins can perform the following actions on organization members through the action menu (three-dot icon) on each member row:
Change Roles:
- Promote a member to Admin (requires Owner or Admin with manage-admins permission)
- Demote an Admin to Member
- Role changes take effect immediately
Disable Accounts:
- Temporarily suspend a user's access without removing them
- Disabled users cannot log in or access any organization resources
- The disable action records who performed it and when
- Re-enable at any time to restore access
Remove from Organization:
- Permanently remove a user from the organization
- Their personal data and threads in their personal team are preserved
- Team threads and shared resources remain accessible to other members
Impersonation

Impersonation allows administrators to view the platform exactly as a specific user sees it. This is essential for troubleshooting user-reported issues.
Starting an impersonation session:
- Navigate to the Members tab
- Find the target user in the list
- Click the action menu and select Impersonate
- A purple banner appears at the top of the screen confirming the active impersonation
During impersonation:
- You see the exact same interface, threads, teams, and settings as the impersonated user
- The purple banner displays "You are currently impersonating [User Name] ([email])"
- Your original identity is shown in the banner: "Logged in as: [Your Name]"
- All actions are performed as the impersonated user
Ending the session:
- Click Leave Impersonation in the purple banner
- You return to your own account immediately
- No page reload delay; the transition is seamless
Security considerations:
- Only organization Owners and Admins can impersonate
- Impersonation sessions are logged for audit purposes
- You cannot impersonate another Owner
Organization Settings
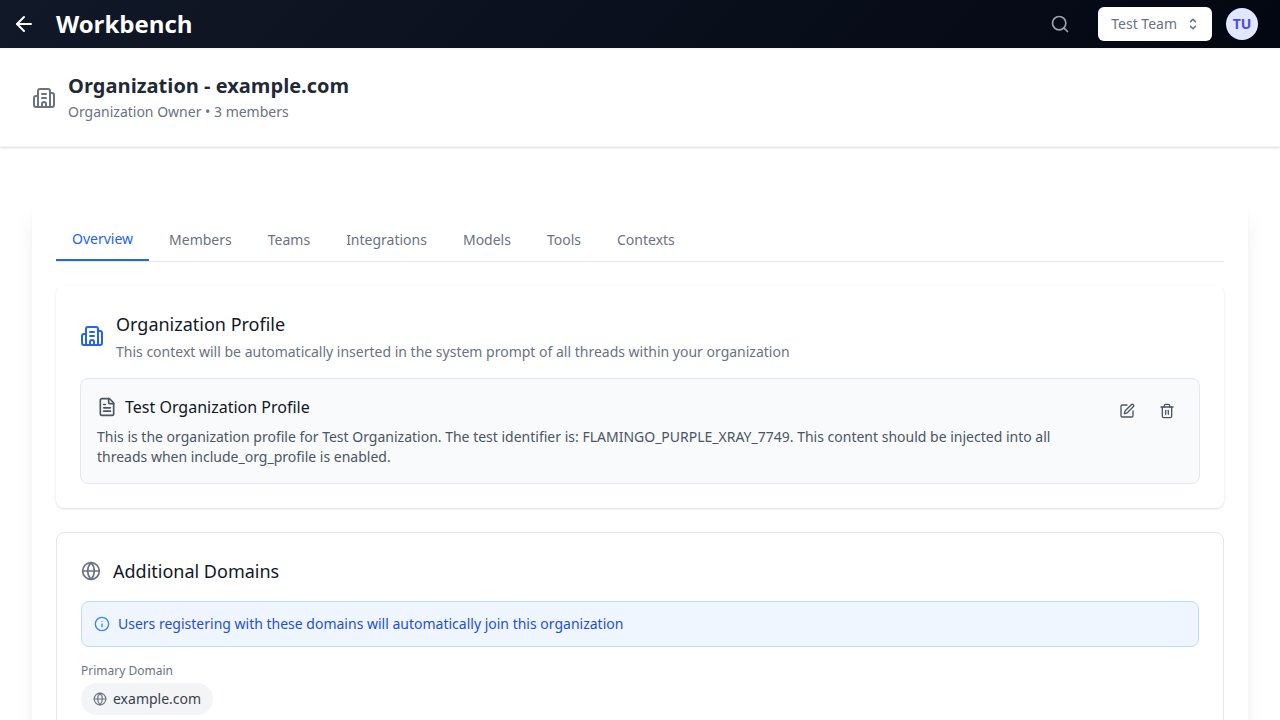
Organization Profile
The Overview tab includes the Organization Profile section where admins can configure:
- Organization name: The display name shown across the platform
- Organization description: Internal description visible to members
- Profile settings: Visual identity and branding elements
Changes to the organization profile are saved immediately and reflected across all member sessions.
Domain Management

Organizations are identified by their primary email domain (e.g., company.com). Only users with email addresses matching allowed domains can register.
Primary Domain:
- Set automatically from the organization owner's email
- Determines the organization's identity
- Cannot be changed after creation
Additional Domains:
- Add secondary domains for organizations with multiple email domains
- Users registering with any allowed domain are automatically associated with the organization
- Manage additional domains from the Overview tab
Registration Allowlist:
- When enabled, only emails matching allowed domains or explicitly allowlisted addresses can register
- Controlled via the
ENABLE_EMAIL_WHITELISTenvironment setting - Individual email addresses can be allowlisted through the admin panel (Filament)
Feature Management

Organization settings control which features are available to members. These are configured at the subscription plan level and enforced organization-wide:
- Model Selector: Whether users can choose AI models or are restricted to a default
- Tools Access: Whether the tools panel is available to users
- Price Visibility: Controls how costs are displayed to users (USD, credits, or hidden)
- Trial Mode: Time-limited access with feature restrictions
Feature availability is determined by the organization's subscription plan. When a feature is locked, the corresponding UI elements are hidden from all organization members.
System Prompt Management
Organization-Wide Prompts
System prompts can be managed at the organization level to ensure consistency:
- Navigate to thread settings
- Configure the system prompt
- Save as a template for reuse across the organization
Template Library
Create a library of reusable system prompts:
- Business Analyst templates: Prompts configured for data analysis, reporting, and strategic recommendations
- Technical Writing templates: Documentation-focused prompts with style guidelines
- Code Review templates: Engineering prompts focused on security, performance, and maintainability
- Custom templates: Domain-specific prompts tailored to your organization's needs
Templates inherit model settings, tool configurations, and context block associations, making it easy to standardize workflows across teams.
Integration Management
OAuth Application Setup
The Integrations tab displays all available integrations and their connection status per team:
| Integration | Capabilities |
|---|---|
| HubSpot | CRM data access, contact/company/deal context blocks, pipeline analysis |
| Microsoft 365 | SharePoint, OneDrive, Email, Calendar, Teams integration |
| Google Workspace | Gmail, Drive, Calendar, Docs access and context blocks |
| SugarCRM | CRM data integration for sales and support workflows |
| Document360 | Knowledge base integration for documentation context |
| Teamwork | Project management integration for task and ticket tracking |
Connecting an integration:
- Navigate to the Integrations tab
- Select the team that needs the integration
- Click Connect next to the desired service
- Complete the OAuth authorization flow in the popup window
- The integration status updates to show the connected account
Managing connected integrations:
- View which account is connected for each team
- Disconnect integrations to revoke access
- Re-authorize if tokens expire (indicated by a red error state)
- Each team can have independent integration connections
API Key Configuration
Some integrations require API keys rather than OAuth:
- Keys are configured at the environment level by system administrators
- Provider API keys (OpenAI, Anthropic, Google, xAI) are managed in the engine configuration
- Tool-specific API keys are configured per tool in the Tools tab
Tool Configuration
Organization Tool Settings
The Tools tab provides centralized control over all available tools:
Enabling and Disabling Tools:
- Navigate to the Tools tab
- View all available tools with their current status
- Toggle tools on or off for the entire organization
- Disabled tools are hidden from all users in the thread tool selector
Tool Categories:
- Native Tools: Built-in tools (web search, code execution, file operations)
- MCP Tools: Model Context Protocol servers providing specialized capabilities
- Integration Tools: Tools powered by connected services (HubSpot, MS365, Google)
Usage Limits
Configure usage boundaries to control costs:
- Per-user daily limits: Maximum number of tool invocations per user per day
- Organization-wide pools: Shared usage quotas across all members
- Cost controls: Budget limits that prevent usage beyond a set threshold
Default Tool Configurations
Admins can set default configurations for tools:
- Pre-configure API keys and authentication for tools
- Set default parameters that apply when users enable a tool
- Override tool display names and logos for organizational branding
Custom MCP Tools
Add custom MCP (Model Context Protocol) servers:
- Navigate to Tools in the Organization panel
- Locate the custom tool configuration section
- Provide the server configuration (command, arguments, environment variables)
- Set which users or teams can access the custom tool
- Enable the tool for the organization
Custom MCP tools support both stdio and sse transport modes. See MCP Tools for detailed configuration instructions.
Model Access Control
The Models tab allows administrators to control which AI models are available:
- Enable/Disable Models: Toggle individual models on or off organization-wide
- Per-User Model Assignment: Restrict specific models to designated users only
- Default Model: Set the model that new threads use by default
- High-Context Models: Control access to expensive high-context-window models
When a model is restricted to specific users, other members do not see it in their model selector.
Usage & Analytics
Organization Statistics
The Overview tab's statistics section provides comprehensive analytics:
KPI Summary:
- Total members and active user count
- Thread creation volume for the selected period
- Token consumption totals (input, output, cached)
- Cost summary in USD or credits (based on plan configuration)
Model Consumption:
- Bar or pie chart showing usage distribution across AI models
- Helps identify which models drive the most cost
- Useful for negotiating volume pricing with providers
Credit Trends:
- Line chart showing credit consumption over time
- Identify usage spikes and predict future costs
- Compare periods to spot trends
Top Spenders:
- Ranked list of users by token or credit consumption
- Helps identify power users who may need training or upgraded access
- Useful for internal cost allocation
Export Data
Download organization statistics as CSV:
- Set the desired date range using the filter controls
- Click the Export button
- The CSV includes all visible metrics for the selected period
- Use for internal reporting, billing reconciliation, or management reviews
Team-Level Statistics
Each team also tracks its own usage in Team Settings:
- Member-level usage breakdown
- Model-specific cost analysis
- Thread count and activity metrics
- Last activity timestamps per member
See Cost & Analytics for detailed information about cost tracking at the individual run level.
Release Notes
Viewing Release Notes
GPT Workbench provides in-app release notes to keep users informed about new features and improvements:
- A notification indicator appears when new release notes are available
- Click the notification to open the Release Notes modal
- Notes are displayed in reverse chronological order (most recent first)
- The system tracks each user's last-seen timestamp to highlight unread updates
Admin Release Notes Management
Administrators can manage release notes through the admin API:
- Create announcements for new features, improvements, or important changes
- Release notes are fetched from the backend and displayed to all organization members
- The latest 5 release notes are shown by default
- Users can dismiss the notification after reading
Context Block Configuration
The Contexts tab allows organization-wide control over context block types:
- Enable/Disable Context Types: Control which context block types are available (text, document, repository, URL, HubSpot, etc.)
- Display Overrides: Customize context type display names and logos for organizational branding
- Per-User Restrictions: Limit specific context types to designated users
This is particularly useful for organizations that want to restrict access to expensive or sensitive context sources like repository scanning or CRM data.
Troubleshooting
"A member cannot access a feature"
Check:
- Is the feature enabled at the subscription plan level?
- Is the user's role sufficient? (Some features require Admin)
- Is the tool or model restricted to specific users?
- Has the user's account been disabled?
"Integration shows an error state"
Solutions:
- Check if the OAuth token has expired (red error indicator)
- Ask the user to disconnect and reconnect the integration
- Verify the integration's API credentials are still valid
- Check that required scopes were approved during authorization
"User cannot register despite having the correct email domain"
Check:
- Is the domain listed in the primary or additional domains?
- Is the email allowlist feature enabled?
- Has the specific email been allowlisted (if using individual allowlisting)?
- Is there a pending invitation for the user?
"Cost data is not showing for users"
Check:
- Verify the subscription plan's
costDisplayModesetting (usd, credits, or none) - If set to
none, cost indicators are hidden by design - If set to
credits, ensure the credit ratio is configured - Check that runs have completed successfully (failed runs may not have cost data)
Best Practices
- Audit membership regularly - Review the member list monthly to remove departed employees and update roles
- Use domain allowlisting - Prevent unauthorized registrations by restricting to your organization's email domains
- Set sensible usage limits - Configure per-user tool limits to prevent accidental cost overruns
- Standardize with templates - Create system prompt templates for common workflows to ensure consistency
- Monitor top spenders - Review the Top Spenders section weekly to identify unusual usage patterns
- Configure model access - Restrict expensive models to users who need them; set a cost-effective default model
- Maintain integrations - Check integration connection status periodically; expired tokens cause silent failures
- Communicate changes - Use release notes to inform users about configuration changes or new features
- Export data regularly - Download usage reports for internal billing and management review
- Test with impersonation - Before reporting a bug, impersonate the affected user to reproduce the issue firsthand
Related Documentation
- Teams - Team creation, management, and collaboration features
- Permissions - Detailed access control and role hierarchy
- Models & Tools - AI model selection and tool configuration
- MCP Tools - Custom MCP server setup and management
- Cost & Analytics - Per-run cost tracking and optimization strategies
- Context Blocks - Managing knowledge context for AI conversations
- Sharing - Thread sharing and public link generation