Quick Start
Get up and running with GPT Workbench in 5 minutes. This guide walks you through your first session, from logging in to sending a message with context and tools.
Step 1: Log In and Explore the Workspace
After logging in, you land on your personal team workspace. The interface has three main areas:
- Sidebar (left) -- Your thread list, filtered by the selected team. The New Thread button sits at the top.
- Header (top) -- The team selector, global search, notifications, and your profile menu.
- Thread area (center) -- The active conversation, or a welcome screen if no thread is open.
Your personal team is a private workspace visible only to you. Any threads or context blocks you create here remain private until you explicitly share them or move them to a shared team.
Step 2: Create Your First Thread
- Click New Thread in the sidebar.
- A new thread opens with a default title ("New Thread") and the default model selected.
- Optionally, click the thread title at the top to rename it (for example, "Q3 Pipeline Analysis" or "API Documentation Review").
The title is updated automatically after your first exchange if you leave it as the default. GPT Workbench generates a descriptive title based on the conversation content.
Step 3: Choose a Model
The default model is Claude Haiku (Anthropic) -- a fast, cost-effective model suitable for most tasks. To change it:
- Click the Model button in the thread toolbar (shows the current model name).
- The model selector opens, displaying all available models grouped by provider.
- Select the model that fits your task:
- Small models (Haiku, Flash, GPT-5 Mini) -- Fast responses, lower cost. Best for drafting, summarization, and quick questions.
- Medium models (Sonnet, Pro, GPT-5) -- Balanced performance and cost. Good for analysis, writing, and general-purpose work.
- Large models (Opus, Grok 3, o3-pro) -- Maximum capability. Use for complex reasoning, deep analysis, and challenging tasks.
Models can be switched at any point during a conversation. Your message history is preserved.
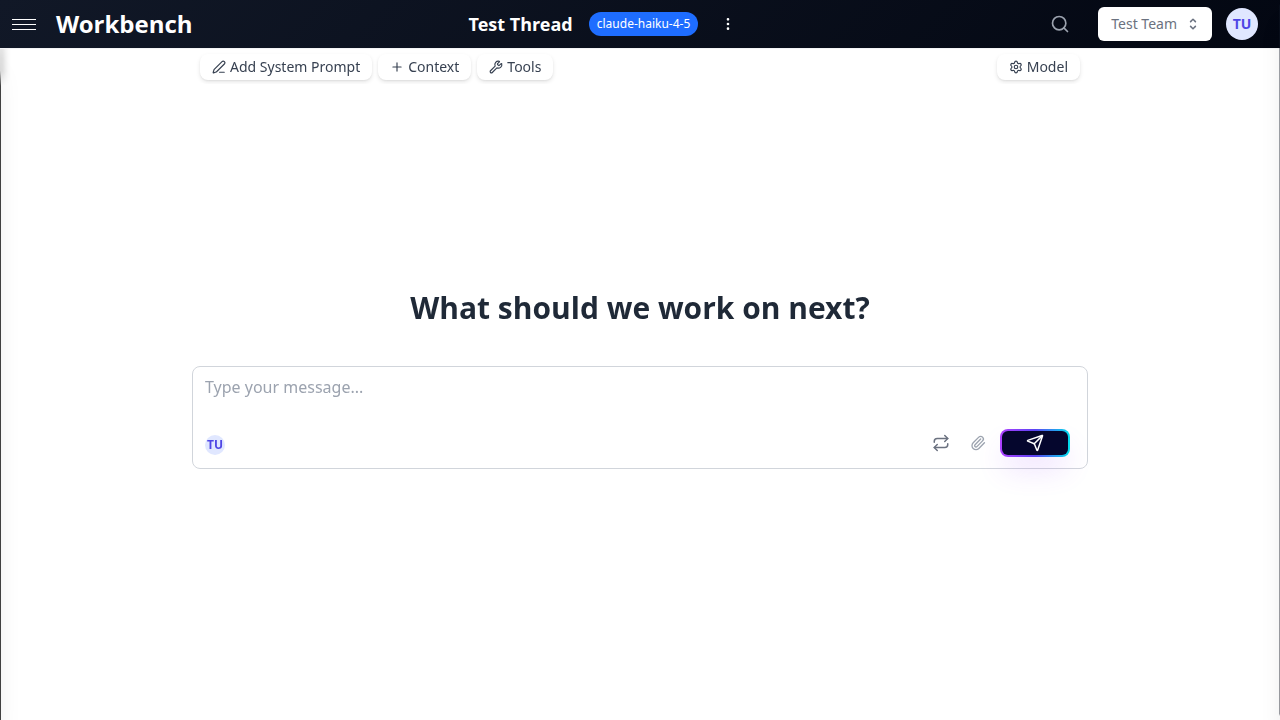
Step 4: Send Your First Message
- Click in the input area at the bottom of the thread.
- Type your prompt. For example: "Summarize the key differences between Claude and GPT models for enterprise use."
- Press Ctrl+Enter (or Cmd+Enter on Mac) to send, or click the Run button.
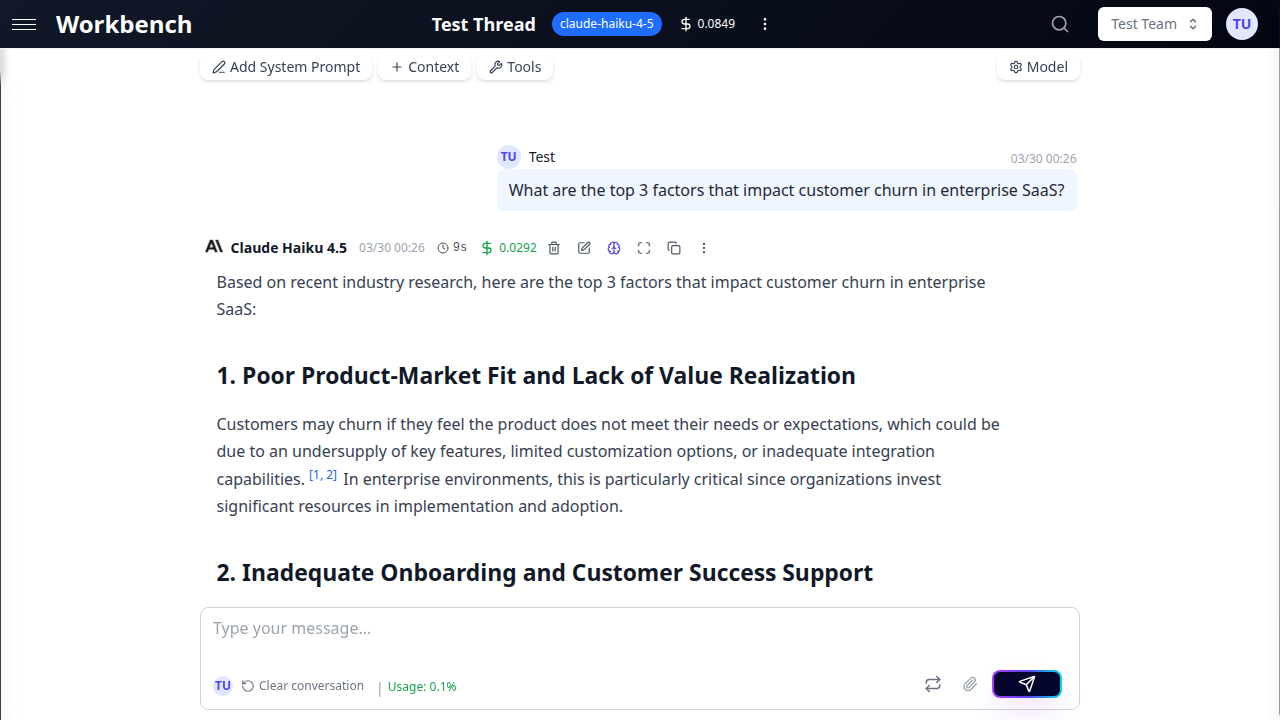
- The AI response streams in real-time. You see tokens appear as the model generates them.
By default, new threads use Chat Mode, which automatically commits both your message and the AI response to the conversation history. This is the most familiar experience, similar to other AI chat interfaces.
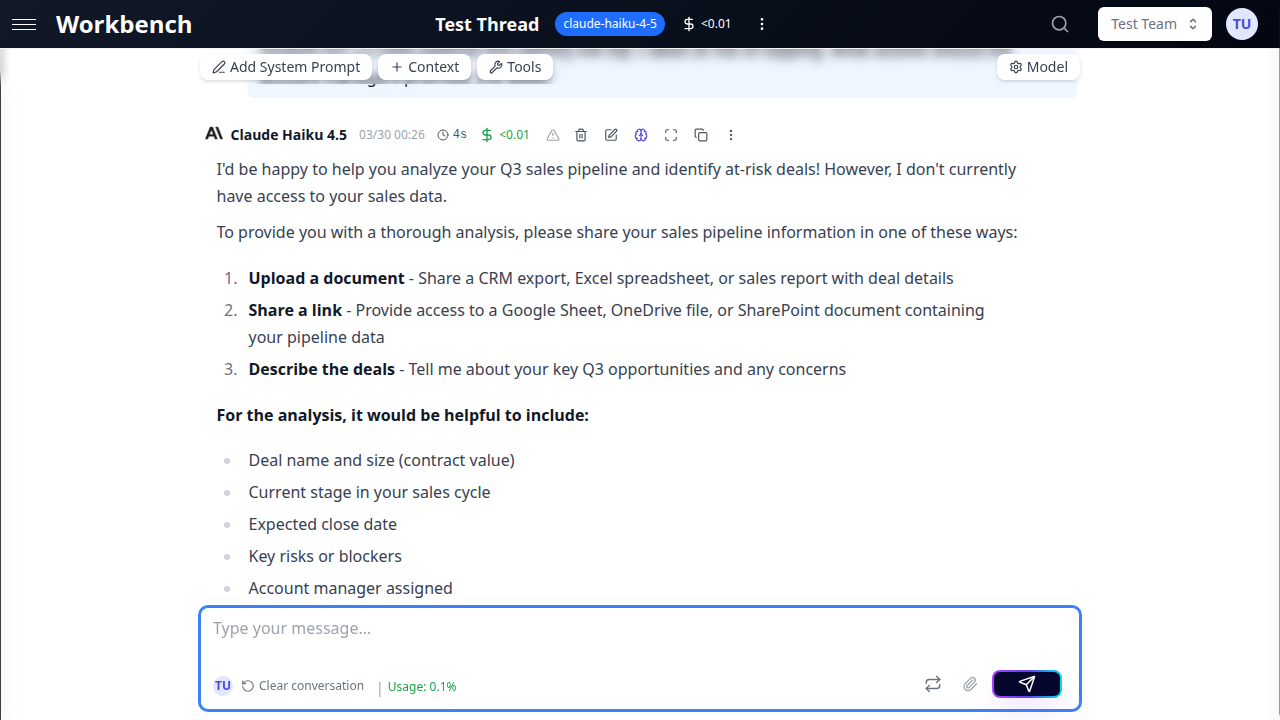
Step 5: Add Context
Context blocks inject reference data into every request within the thread. Instead of pasting information into each message, attach it once and the AI has persistent access.
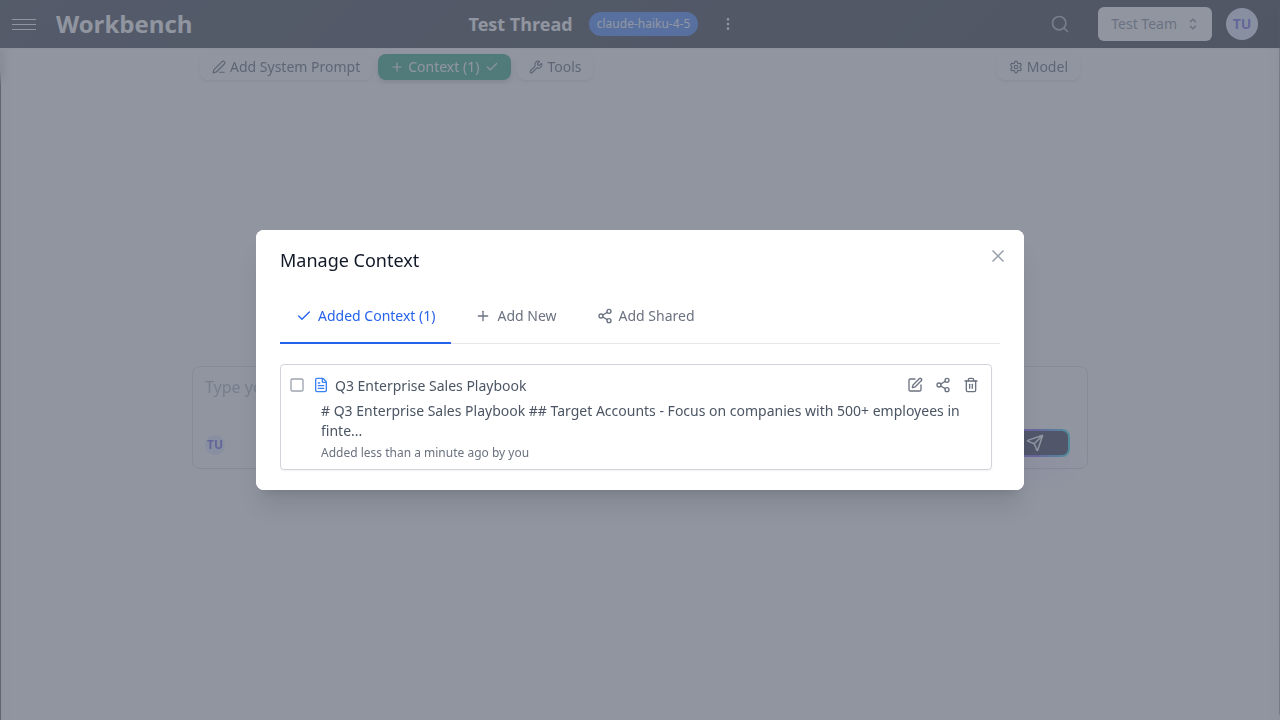
- Click the Context button in the thread toolbar (or the badge showing the number of attached blocks).
- The Manage Context modal opens. Select the Add New tab.
- Choose a context type:
- Text -- Paste guidelines, specifications, meeting notes, or any reference text.
- URL -- Enter a web page URL. GPT Workbench scrapes and extracts the content automatically.
- Document -- Upload a PDF, DOCX, XLSX, CSV, or other supported file.
- Git -- Connect a repository with optional branch and path filtering.
- HubSpot / SharePoint / Google Drive -- Pull data from connected integrations (requires OAuth setup in Settings).
- Enter a descriptive title (for example, "Product Roadmap Q3" or "API Reference v2").
- Click Add Context.
The context block now appears in the Thread Context tab. It is included with every subsequent message you send in this thread.
Step 6: Try Tools
Tools extend what the AI can do beyond generating text. With tools enabled, the model can search the web, generate images, create diagrams, query your CRM, and more.
- Click the Tools button in the thread toolbar.
- The tool panel displays available tools, organized by category.
- Toggle on the tools you want to enable. Popular starting points:
- Web Search (Perplexity) -- Lets the AI search the web for current information.
- Image Generation (DALL-E) -- Creates images from text descriptions.
- Mermaid Diagrams -- Generates flowcharts, sequence diagrams, and architecture diagrams.
- Close the tool panel and send a message that would benefit from the enabled tool. For example, with web search enabled: "What are the latest pricing changes for Claude models?"
The AI decides when to use tools based on your prompt. Tool calls appear in the conversation with a distinct visual treatment showing the tool name, input, and result.
Step 7: Explore Conversation Modes
GPT Workbench offers two conversation modes. You can switch between them at any time using the toggle in the thread toolbar.
Chat Mode (Default)
Messages are automatically committed to the conversation history. Every prompt you send and every response the AI generates becomes part of the permanent thread record.
Best for: Quick conversations, team brainstorming, familiar chat experience.
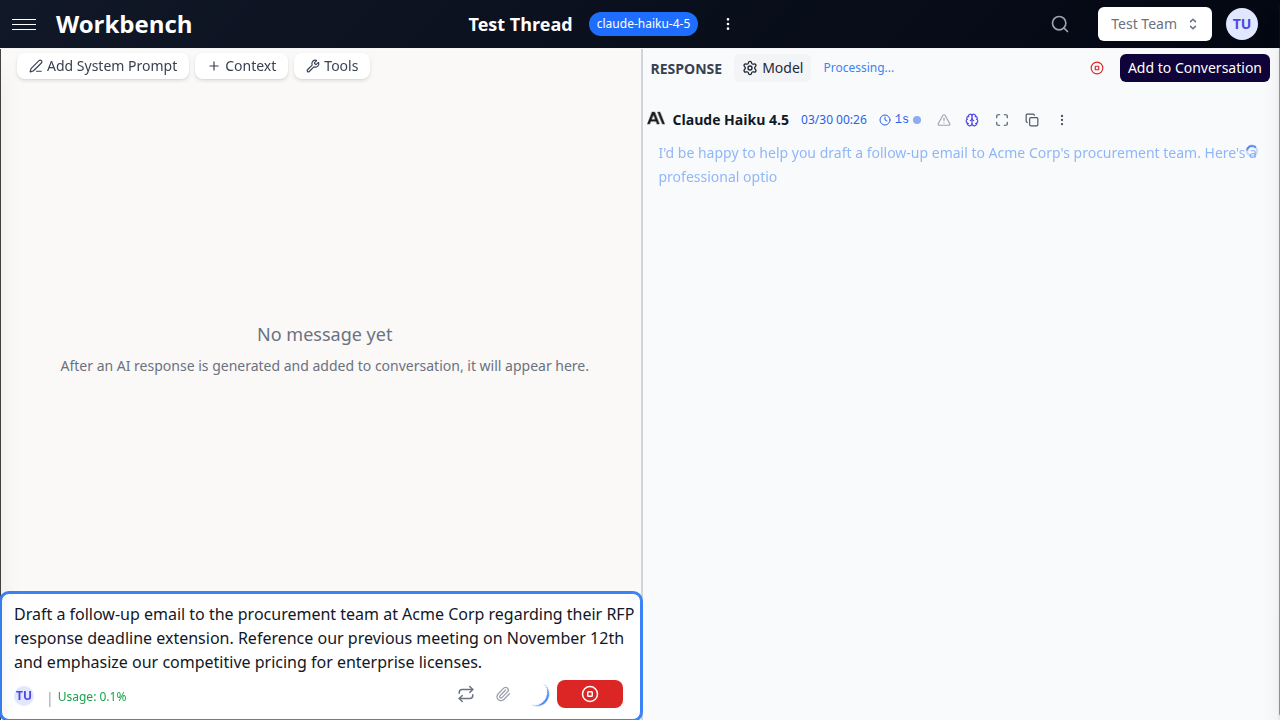
Console Mode
AI responses appear in a staging area rather than being immediately committed. You review the response and decide what to do:
- Add to Conversation -- Commits the response to the thread history.
- Regenerate -- Discards the response and asks the model to try again, without affecting history.
- Edit and re-run -- Modify your prompt and re-send.
Best for: Prompt experimentation, iterative refinement, cost-conscious workflows, reviewing tool outputs before committing.
When to Use Each Mode
| Scenario | Recommended Mode |
|---|---|
| Quick questions and Q&A | Chat |
| Drafting and iteration | Console |
| Team brainstorming sessions | Chat |
| Testing system prompts | Console |
| Running tools for the first time | Console |
| Ongoing project conversations | Chat |
Step 8: Set a System Prompt
System prompts define the AI's role, behavior, and output format for the entire thread. They are sent at the beginning of every request, before your context blocks and conversation history.
- Click the System Prompt button in the thread toolbar (pencil icon).
- The system prompt editor opens.
- Write your instructions. For example:
You are a senior business analyst at a SaaS company. When analyzing data:
- Always reference specific metrics (ARR, MRR, churn rate, NPS)
- Provide actionable recommendations with estimated ROI
- Use executive-friendly language suitable for C-suite presentations- Click Save.
Every subsequent message in this thread will include this system prompt. Different threads can have different system prompts. If your team has a default system prompt configured, new threads inherit it automatically.
Understanding Costs
GPT Workbench uses usage-based pricing. Every message you send consumes tokens, and costs are tracked per run.
Where to see costs:
- Message level -- Click the cost indicator on any AI response to see token usage (input, output, cached) and the corresponding cost.
- Thread level -- The thread header shows cumulative cost for the entire conversation.
- Organization level -- Administrators can view aggregate statistics in the Admin Panel.
What affects cost:
- The model you select (larger models cost more per token)
- The amount of context attached (documents, repositories, CRM data)
- Conversation length (longer history means more input tokens per request)
- Tool usage (each tool call adds overhead)
- Thinking tokens (for models with extended thinking like Claude or o3)
Cost optimization tips:
- Start with smaller models (Haiku, Flash) for routine tasks
- Use path filters on repository context to include only relevant files
- Summarize large documents using the built-in summarization feature
- Use Console Mode to review responses before committing to history
- Remove context blocks you no longer need for the current task
Tips for Your First Session
System prompts improve output quality. Click the System Prompt button in the toolbar to define the AI's role, tone, and formatting preferences. For example: "You are a senior business analyst. Always include specific metrics and actionable recommendations."
Context blocks are reusable. A context block you create in one thread can be shared and linked to other threads. This avoids duplicating reference data across conversations.
Token usage is visible. The context usage indicator in the toolbar shows how much of the model's context window is occupied by your system prompt, context blocks, conversation history, and tools. Keep an eye on this when working with large documents or long conversations.
Keyboard shortcuts save time. Press Ctrl+Enter to send a message, Ctrl+K to open the command palette (search threads, switch teams), and Escape to close modals.
Next Steps
Now that you have created a thread, chosen a model, sent a message, added context, and tried tools, explore these areas to get more from GPT Workbench:
- Join or create a team -- Collaborate with colleagues in shared workspaces
- Connect integrations -- Link HubSpot, Microsoft 365, Google Workspace, and other business systems
- Create thread templates -- Save system prompts, model settings, and tool configurations for reuse
- Set up scheduled prompts -- Automate recurring analyses and reports
- Configure your profile -- Set your preferred model, manage API tokens, and connect OAuth accounts
- Explore all tools -- Browse the full catalog of 88+ integrated tools
- Learn about context blocks -- Master the different context types and sharing options