Teams
Teams are the organizational backbone of GPT Workbench. They define how users collaborate, share resources, and manage access to threads, context blocks, tools, and AI models across the platform.
Understanding Teams
Personal Team
Every user receives a personal team upon registration. This team acts as a private workspace.
- Created automatically during account setup
- The user is the sole member and permanent owner
- All threads and context blocks created here are private by default
- Cannot be deleted or renamed to another user
- Ideal for drafting, experimentation, and individual work
Shared Teams
Shared teams are created explicitly for collaboration. They provide a shared workspace where multiple users can access the same threads, context blocks, and tool configurations.
- Support multiple members with distinct roles (Owner, Admin, Member)
- Team-wide settings for system prompts, preferred models, and tools
- Auto-context blocks that apply to every new team thread
- Usage statistics visible to administrators
- Can be archived or deleted by the team owner
Creating a Team
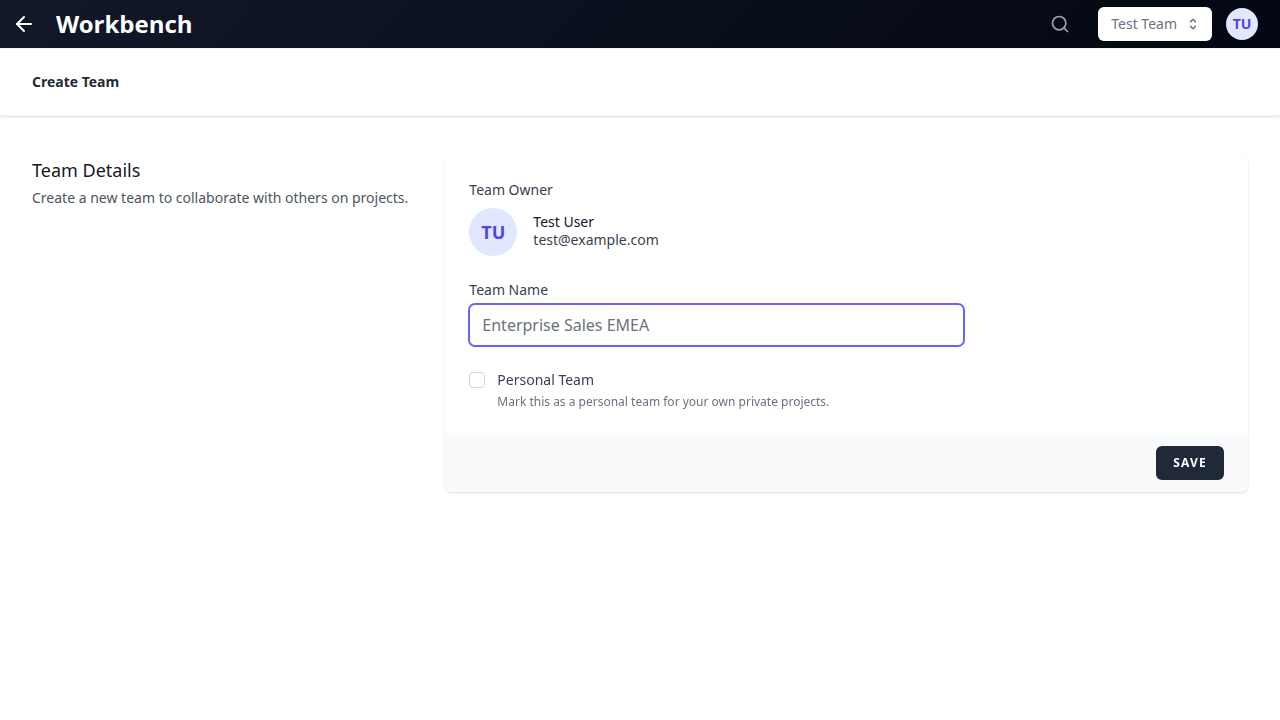
- Click your current team name in the header
- Select Create Team from the dropdown
- Enter a descriptive team name (e.g., "Marketing Q3 Campaign" or "Engineering Backend")
- Optionally invite initial members by email
- Click Create to finalize
The new team appears immediately in your team selector dropdown. You are assigned as the team Owner.
Naming conventions: Use clear, descriptive names that reflect the team's purpose. Avoid generic names like "Team 1" -- other members need to identify teams at a glance in the selector dropdown.
Team Management
Inviting Members
There are two methods for adding members to a team.
Method 1: Email Invitation
- Navigate to Team Settings and open the Members tab
- Enter the email address of the user you want to invite
- Select a role: Member or Admin
- Click Send Invitation
- The recipient receives an email with a link to accept the invitation
Pending invitations appear in the Members tab until accepted or cancelled.
Method 2: Invite Links
Invite links provide a self-service way for users to join a team without requiring individual email invitations.

- Navigate to Team Settings and open the Members tab
- Scroll to the Team Invite Links section
- Click Create Invite Link
- Configure the link:
- Role: The role assigned to users who join via this link (Admin or Member)
- Maximum Uses: Limit how many times the link can be used (leave empty for unlimited)
- Expires In: Set an expiration window in hours (leave empty for no expiration, maximum 8760 hours / 1 year)
- Click Create Link
- Copy the generated URL and share it with your colleagues
Each active invite link displays its role, usage count, expiration date, creator, and token. You can copy the link, open it in a new tab, or delete it. Expired links are hidden by default but can be revealed with the Show Expired Links toggle.
Member Roles
| Role | Thread Management | Team Settings | Member Management | Auto-Context | Tools Config | Delete Team |
|---|---|---|---|---|---|---|
| Owner | Full control | Full control | Full control | Configure | Configure | Yes |
| Admin | Full control | Full control | Invite and remove | Configure | Configure | No |
| Member | Create and edit own | View only | No | View only | View only | No |
Owner: The team creator. Has unrestricted access to all team features, including the ability to delete the team and transfer ownership. There is exactly one owner per team.
Admin: Can manage team membership (invite, remove, change roles), configure team settings (system prompt, preferred model, auto-context, tools), and access all team threads. Cannot delete the team.
Member: Can access team threads, create new threads within the team, and use team context blocks and tools. Cannot modify team settings or manage other members. Auto-context blocks appear as read-only with blue styling and a shield icon.
Removing Members
- Navigate to Team Settings and open the Members tab
- Locate the member you want to remove
- Click the action menu (three dots) next to their name
- Select Remove from Team
- Confirm the removal
Removed members immediately lose access to all team threads and context blocks. Their personal threads remain unaffected.
Switching Teams
Header Dropdown
The team selector in the application header shows your current team.
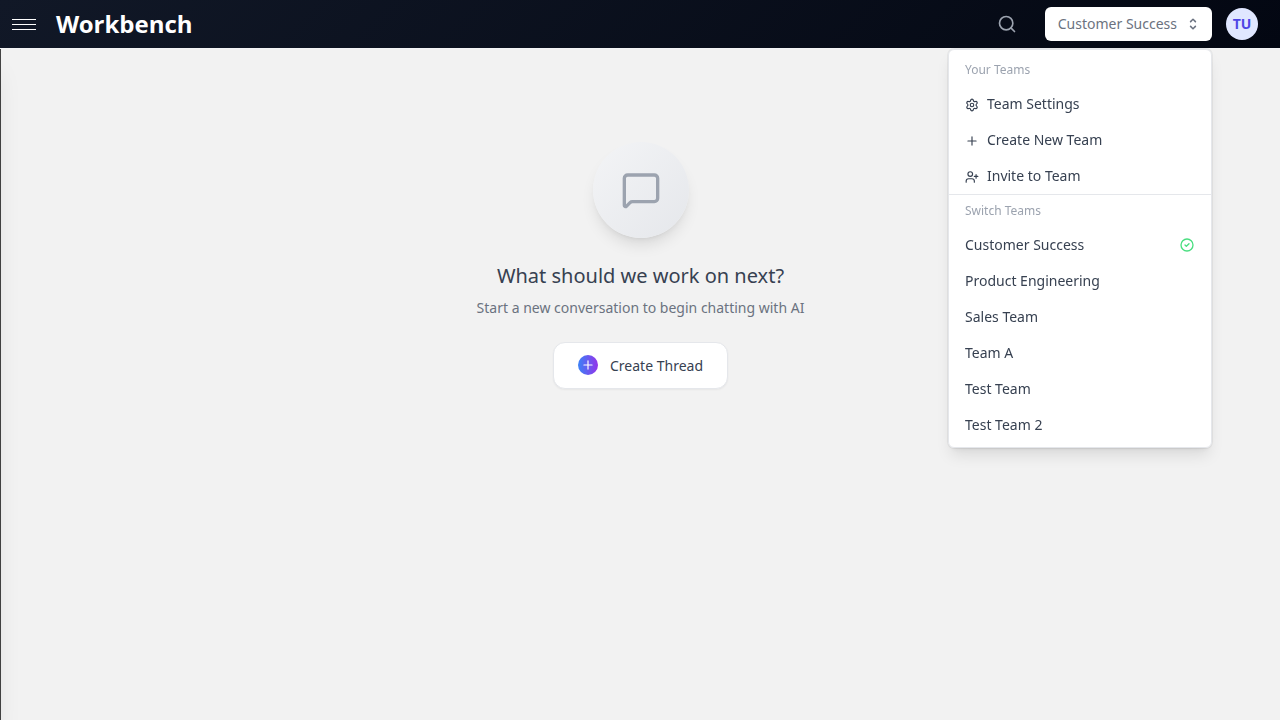
- Click the team name in the header
- The dropdown displays all teams you belong to (personal + shared)
- Select another team
- The interface switches to that team's thread list, context, and settings
Switching teams changes the working context for the entire application. New threads created after switching belong to the selected team. The sidebar thread list updates to show only the selected team's threads.
Keyboard Shortcut
Use Cmd+K (Mac) or Ctrl+K (Windows) to open the command palette:
- Type the team name
- Select the team from the results
- The interface switches immediately
Team Settings
Team settings are organized into three tabs: General, Members, and Archived Content. Access them from the team dropdown or the settings icon.
General Tab
The General tab contains the following sections, in order from top to bottom:
Statistics Card

A dashboard showing key metrics for the team:
- Active Threads count
- AI Responses count
- Context Blocks count
- Total Tokens consumed
- Total Cost (in USD or credits, depending on organization settings)
- Archived Threads count
- Archived Messages count
- Team creation date and last activity timestamp
Team Name
Update the team display name. Only Owners and Admins can modify this field.
Team System Prompt

Set a default system prompt that applies to all new threads created in this team. This is useful for enforcing consistent AI behavior across team workflows, for example:
- Brand voice guidelines for marketing teams
- Code review standards for engineering teams
- Analysis frameworks for data teams
Admins can edit the prompt; Members can view it but not modify it.
Team Contexts (Auto-Context)
Configure context blocks that are automatically included in every new team thread. This section uses the same context block management interface as thread-level context.
- Admins can add, remove, and reorder auto-context blocks
- Members see auto-context blocks as read-only entries with blue styling and a shield icon
- Auto-context blocks are additive: they combine with any thread-specific context blocks
- Removing an auto-context block from team settings does not affect existing threads that already have it attached
Common uses: company documentation, style guides, API references, compliance requirements.
Team Tools
Configure the set of tools (native and MCP) that are automatically available in all team threads.
- Admins can enable or disable tools from the available tool catalog
- Thread-level tool selections are additive on top of team tools
- Members see the tool configuration as read-only
- Changes apply to new runs only; in-progress runs are not affected
Preferred Model
Set a default AI model for all new threads in this team. When a team member creates a new thread, it starts with this model selected. Users can still switch models per-thread.
- All available models are shown grouped by provider (OpenAI, Anthropic, Google, xAI, etc.)
- The current selection is highlighted
- Admins can change the preferred model; Members view the current selection
Danger Zone
Visible only to the team Owner. Contains the Delete Team action, which permanently removes the team and all associated data (threads, messages, context blocks, settings). A confirmation modal shows exactly what will be deleted before proceeding. This action cannot be undone.
Members Tab
The Members tab displays:
- Statistics panel at the top: total members, administrators count, regular members count
- Team member list with each member's name, email, role, and action menu
- Pending invitations that have not yet been accepted
- Team Invite Links section for managing self-service join links (see "Invite Links" above)
Archived Content Tab
View and manage archived threads and messages for the team. Archived content does not appear in the active thread list but remains accessible for reference and can be restored.
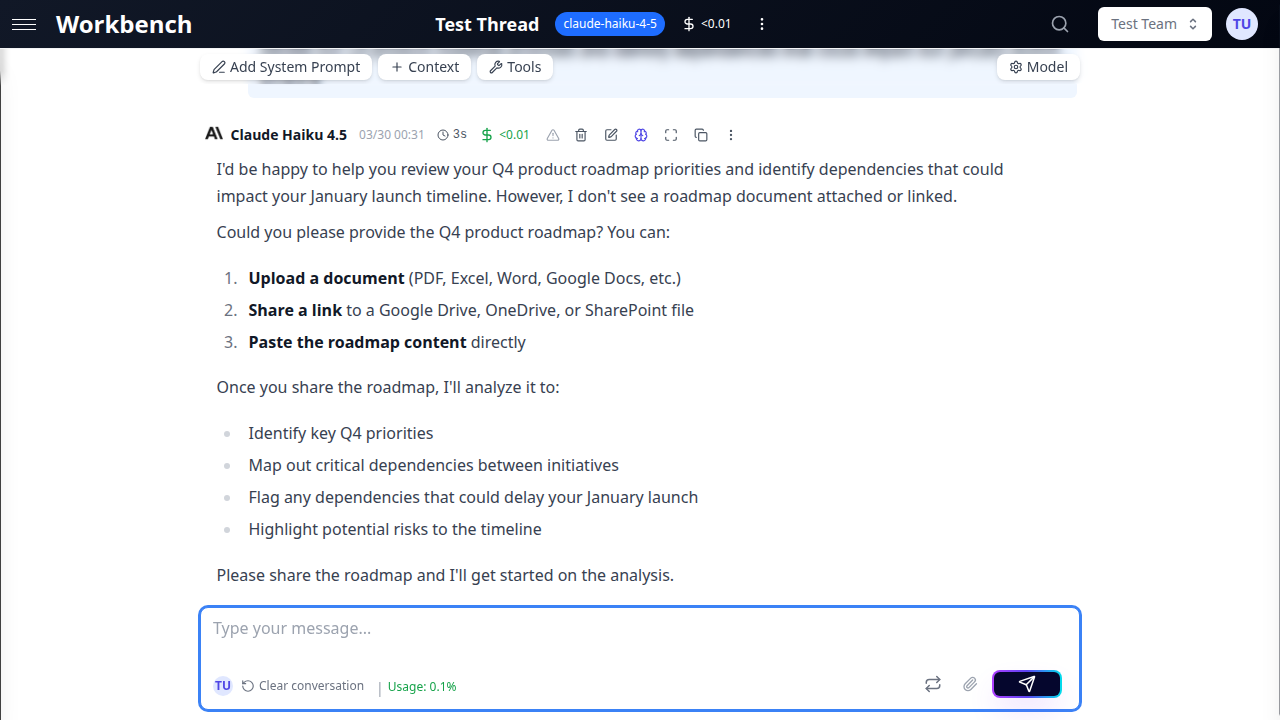
Team Threads
Creating Team Threads
When you create a thread while a shared team is selected in the header:
- The thread belongs to that team
- All team members can see and access the thread
- The thread inherits the team's default system prompt (if configured)
- The thread inherits the team's preferred model (if configured)
- Team auto-context blocks are automatically attached
- Team tools are automatically enabled
Thread Visibility
- Personal team threads: visible only to you
- Shared team threads: visible to all team members
- Threads always appear in the sidebar of their owning team
Moving Threads Between Teams
Threads can be moved from one team to another:
- Open the thread you want to move
- Access the thread menu (three dots in the thread header)
- Select Move to Team
- Choose the destination team from the dropdown
- Confirm the move
The thread's conversation history, attached context blocks, and configuration travel with it. The thread disappears from the source team's thread list and appears in the destination team's list.
Important: Moving a thread to a different team changes its visibility. All members of the destination team gain access; members of the source team (who are not in the destination team) lose access.
Real-Time Presence
When multiple team members view the same thread simultaneously, presence avatars appear in the thread header.
![]()
How presence works:
- User avatars appear in the thread header when other team members are viewing the same thread
- Up to 3 avatars are displayed, with a "+N" indicator for additional viewers
- Hover over an avatar to see the user's name
- Away users appear with reduced opacity
- Avatars update in real-time as team members navigate between threads
Presence is driven by WebSocket connections and updates without page refresh. It helps teams coordinate in real-time and avoid duplicate work.
Team Context Blocks
Shared Context
Context blocks can be shared with a team to make them available to all team members:
- Shared blocks appear in the team's context library
- Any team member can attach shared blocks to their threads
- The block owner retains edit and delete permissions
- Sharing a block does not duplicate it -- all users reference the same underlying content
To share a context block with a team, use the Share button on the block and select the target team. See Sharing for detailed instructions.
Auto-Context
Auto-context blocks are configured by team administrators in team settings. They differ from manually shared blocks in several ways:
- Automatically attached to every new thread created in the team
- Displayed with blue styling and a shield icon to distinguish them from user-added context
- Read-only for team members (only admins can add or remove them)
- Ideal for content that every team conversation needs: company guidelines, compliance rules, product specifications
Configuration:
- Navigate to Team Settings and scroll to Team Contexts
- Use the context block management interface to add blocks
- Supported types: text, document, URL, repository, HubSpot
- Changes take effect on new threads only; existing threads are not retroactively updated
Workflow Examples
Onboarding a New Team Member
- Create an invite link with the Member role and a 72-hour expiration
- Share the link via email or messaging
- The new member clicks the link and joins the team
- They immediately see all team threads in their sidebar
- Auto-context blocks (company docs, standards) are attached to their new threads automatically
Setting Up a Project Team
- Create a new team named after the project (e.g., "Product Launch Q4")
- Invite project stakeholders with appropriate roles
- Configure auto-context with project briefs, brand guidelines, and relevant data
- Set the preferred model based on the team's needs
- Enable relevant tools (HubSpot for sales data, repository tools for code)
- Set a team system prompt that defines the AI's role for this project
Cross-Team Collaboration
- Create a context block with shared knowledge
- Share it with multiple teams via the share modal
- Each team can attach it to their threads independently
- Updates to the source block are reflected everywhere it is linked
Best Practices
- Organize by project or function -- Create teams that map to real organizational units or projects. Avoid catch-all teams.
- Use auto-context strategically -- Include only the context that every team conversation genuinely needs. Over-including context wastes tokens.
- Set team system prompts -- Consistent AI behavior across a team reduces rework and improves output quality.
- Configure preferred models -- Choose models that match the team's workload. Cost-sensitive teams might prefer lighter models; quality-focused teams might prefer flagship models.
- Use invite links for scale -- For teams with frequent onboarding, invite links are faster than individual email invitations.
- Review membership regularly -- Remove members who no longer need access. This keeps thread lists clean and respects data privacy.
- Name teams clearly -- Members switch between teams frequently. Descriptive names save time.
- Leverage the statistics card -- Monitor token consumption and costs at the team level to identify optimization opportunities.
Troubleshooting
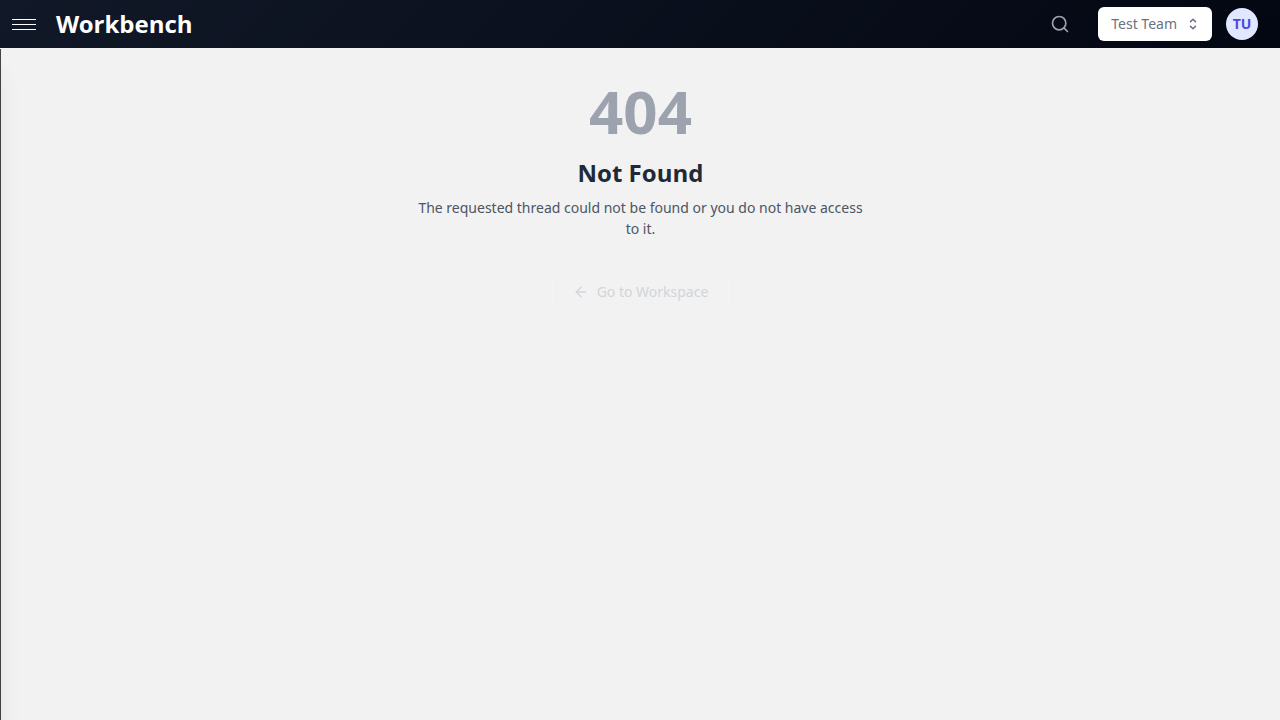
"I created a thread but my team members cannot see it"
Check which team was selected in the header when you created the thread. If your personal team was selected, the thread belongs to you alone. Move the thread to the shared team using the thread menu.
"Auto-context blocks are not appearing in my new threads"
Auto-context is applied only to threads created after the auto-context was configured. Existing threads are not retroactively updated. To add the context to an existing thread, attach it manually from the context library.
"I cannot edit team settings"
Only Owners and Admins can modify team settings. If you have the Member role, ask an admin to make changes or to promote your role.
"An invite link is not working"
The link may have expired or reached its maximum usage count. Check the invite links section in team settings for the link's status. Create a new link if needed.
Related Documentation
- Threads - Creating and managing conversations within teams
- Context Blocks - Attaching data and knowledge to threads
- Sharing - Sharing threads, context, and templates across teams
- Permissions - Detailed role-based access control
- Models & Tools - Configuring AI models and tools